Overview: This tutorial explains how to set up and use Cloud Code inside Visual Studio Code to generate autonomous N10 AI agents and workflows from a single prompt. It covers installing the Claude Cloud extension, creating a project folder and claude.md system prompt, adding N10 MCP and skills from GitHub, configuring API keys, and validating agent plans.
– Why it matters: Cloud Code is highly structured and can create complex N10 workflows and agents from chat prompts, increasing reliability compared to basic cloud prompts.
– Setup steps: Install Visual Studio Code, add the Claude Cloud extension (Pro/Team/Enterprise), create a desktop project folder and the claude.md system prompt file.
– Context integration: Import the N10 MCP and N10 skills from GitHub into the project folder, then add your N10 API URL and API key to the generated mcp.json so workflows store in your instance.
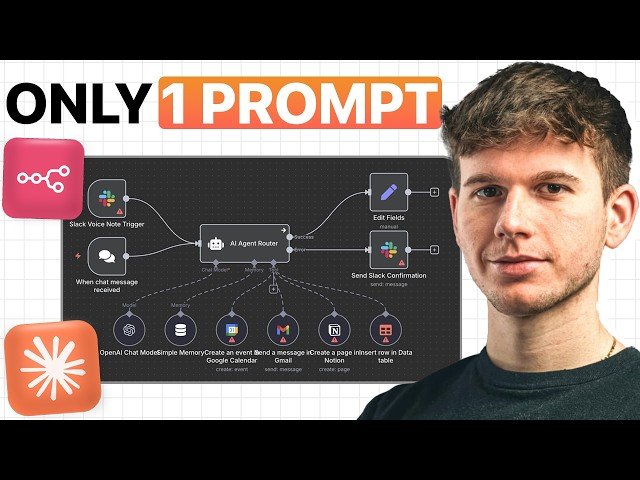
– Authoring and testing: Use Plan Mode to view step-by-step plans, allow or bypass permissions for autonomous runs, and build multi-agent workflows (triggers, sub-agents, email/Gmail, calendar, OpenAI LLM).
Quotes:
Cloud Code is 10 times more powerful.
It only works 40% of the time.
Prompt engineering is one of the most valuable skills you can learn right now.
Statistics
| Upload date: | 2026-01-17 |
|---|---|
| Likes: | 842 |
| Comments: | 54 |
| Fan Rate: | 2.48% |
| Statistics updated: | 2026-02-15 |
Specification: Stop Building n8n AI Agent (Claude Code Does It INSTANTLY)
|